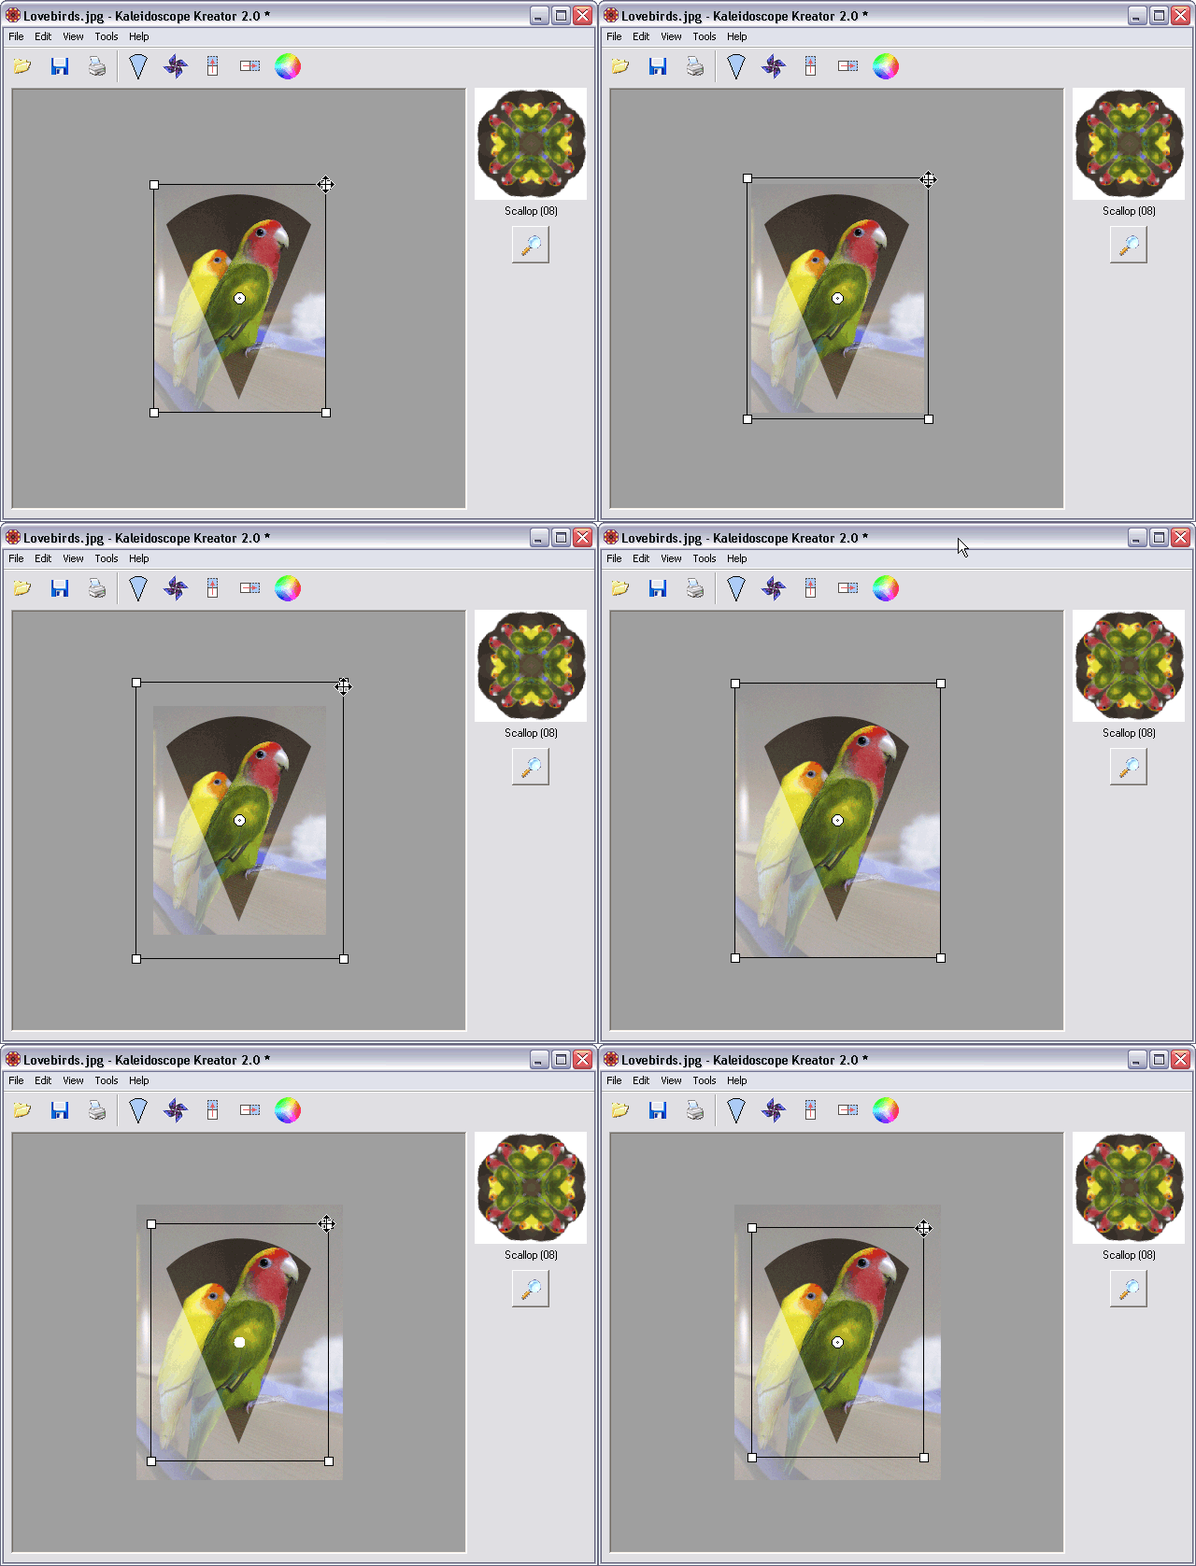
There are a number of ways you can position your image within the workspace staging area. The goal is to position the image so that the portion you want to use for the kaleidoscope is inside the segment template in the staging area.
Note: If the image is positioned such that it does not fill the entire segment template, the empty portion will be filled with the chosen background color in the resulting kaleidoscope.
Using the mouse
The mouse action changes as you position the mouse over or next to the image. The shape of the mouse pointer changes to indicate which action will occur when you click the mouse button.
To resize the image, move the mouse over any corner, then click and drag. Dragging any of the four corners has the same effect; the image is resized from the center point.

To rotate the image, click and drag the mouse pointer outside the image boundary.
To move the image around the workspace staging area, move the mouse pointer over the image, then click and drag.
Using the keyboard
The following keystrokes will allow you to fine-tune the positioning of your image within the segment outline:
Resizing
+ : increases the size of the image by 0.5%
- : decreases the size of the image by 0.5%
Rotating
/ : rotates the image counter-clockwise by 1 degree
* : rotates the image clockwise by 1 degree
Repositioning - The following numbers correspond to the arrow keys on the NumPad of most keyboards. (Make sure that NumLock is ON.)
2 : moves the image down by 5 pixels
4 : moves the image left by 5 pixels
6 : moves the image right by 5 pixels
8 : moves the image up by 5 pixels